Turn a corridor into a considered part of the home: measure the clear route, choose shallow storage and use light, colour and wall finishes to shape its proportions.
The corridor is the room everyone walks through and few people design. Width, light, colour and shallow furniture can turn a leftover passage into a considered piece of domestic architecture.
In 1565, Cosimo I de’ Medici asked Giorgio Vasari for an elevated route between the Uffizi and Palazzo Pitti. Construction took five months. The resulting passage extends for around 760 metres from the Uffizi towards the Boboli Gardens, crossing the Arno above Ponte Vecchio and looking out through seventy-three windows. Anyone considering how to furnish a corridor can begin with this example. After eight years of closure, the Vasari Corridor reopened on 21 December 2024, restored to the simplicity of plasterwork, ceilings and terracotta floors.
No apartment needs a seven-hundred-metre walkway, but the lesson applies to the few steps between a living room and bedrooms. A corridor becomes architecture when its rhythm, light and pauses are designed. It has proportions and a purpose of its own, rather than being spare space for furniture that fits nowhere else.
Centimetres matter here: they determine whether a cupboard is useful or obstructive. In the projects we cover, a successful corridor often begins with deciding what to remove before deciding what to add.
How to furnish a corridor: where to start
Start with the plan rather than a catalogue: clear width, length, door positions and natural-light sources. A corridor distributes movement through the home. Anything added must respect its primary job of allowing people and belongings to pass.
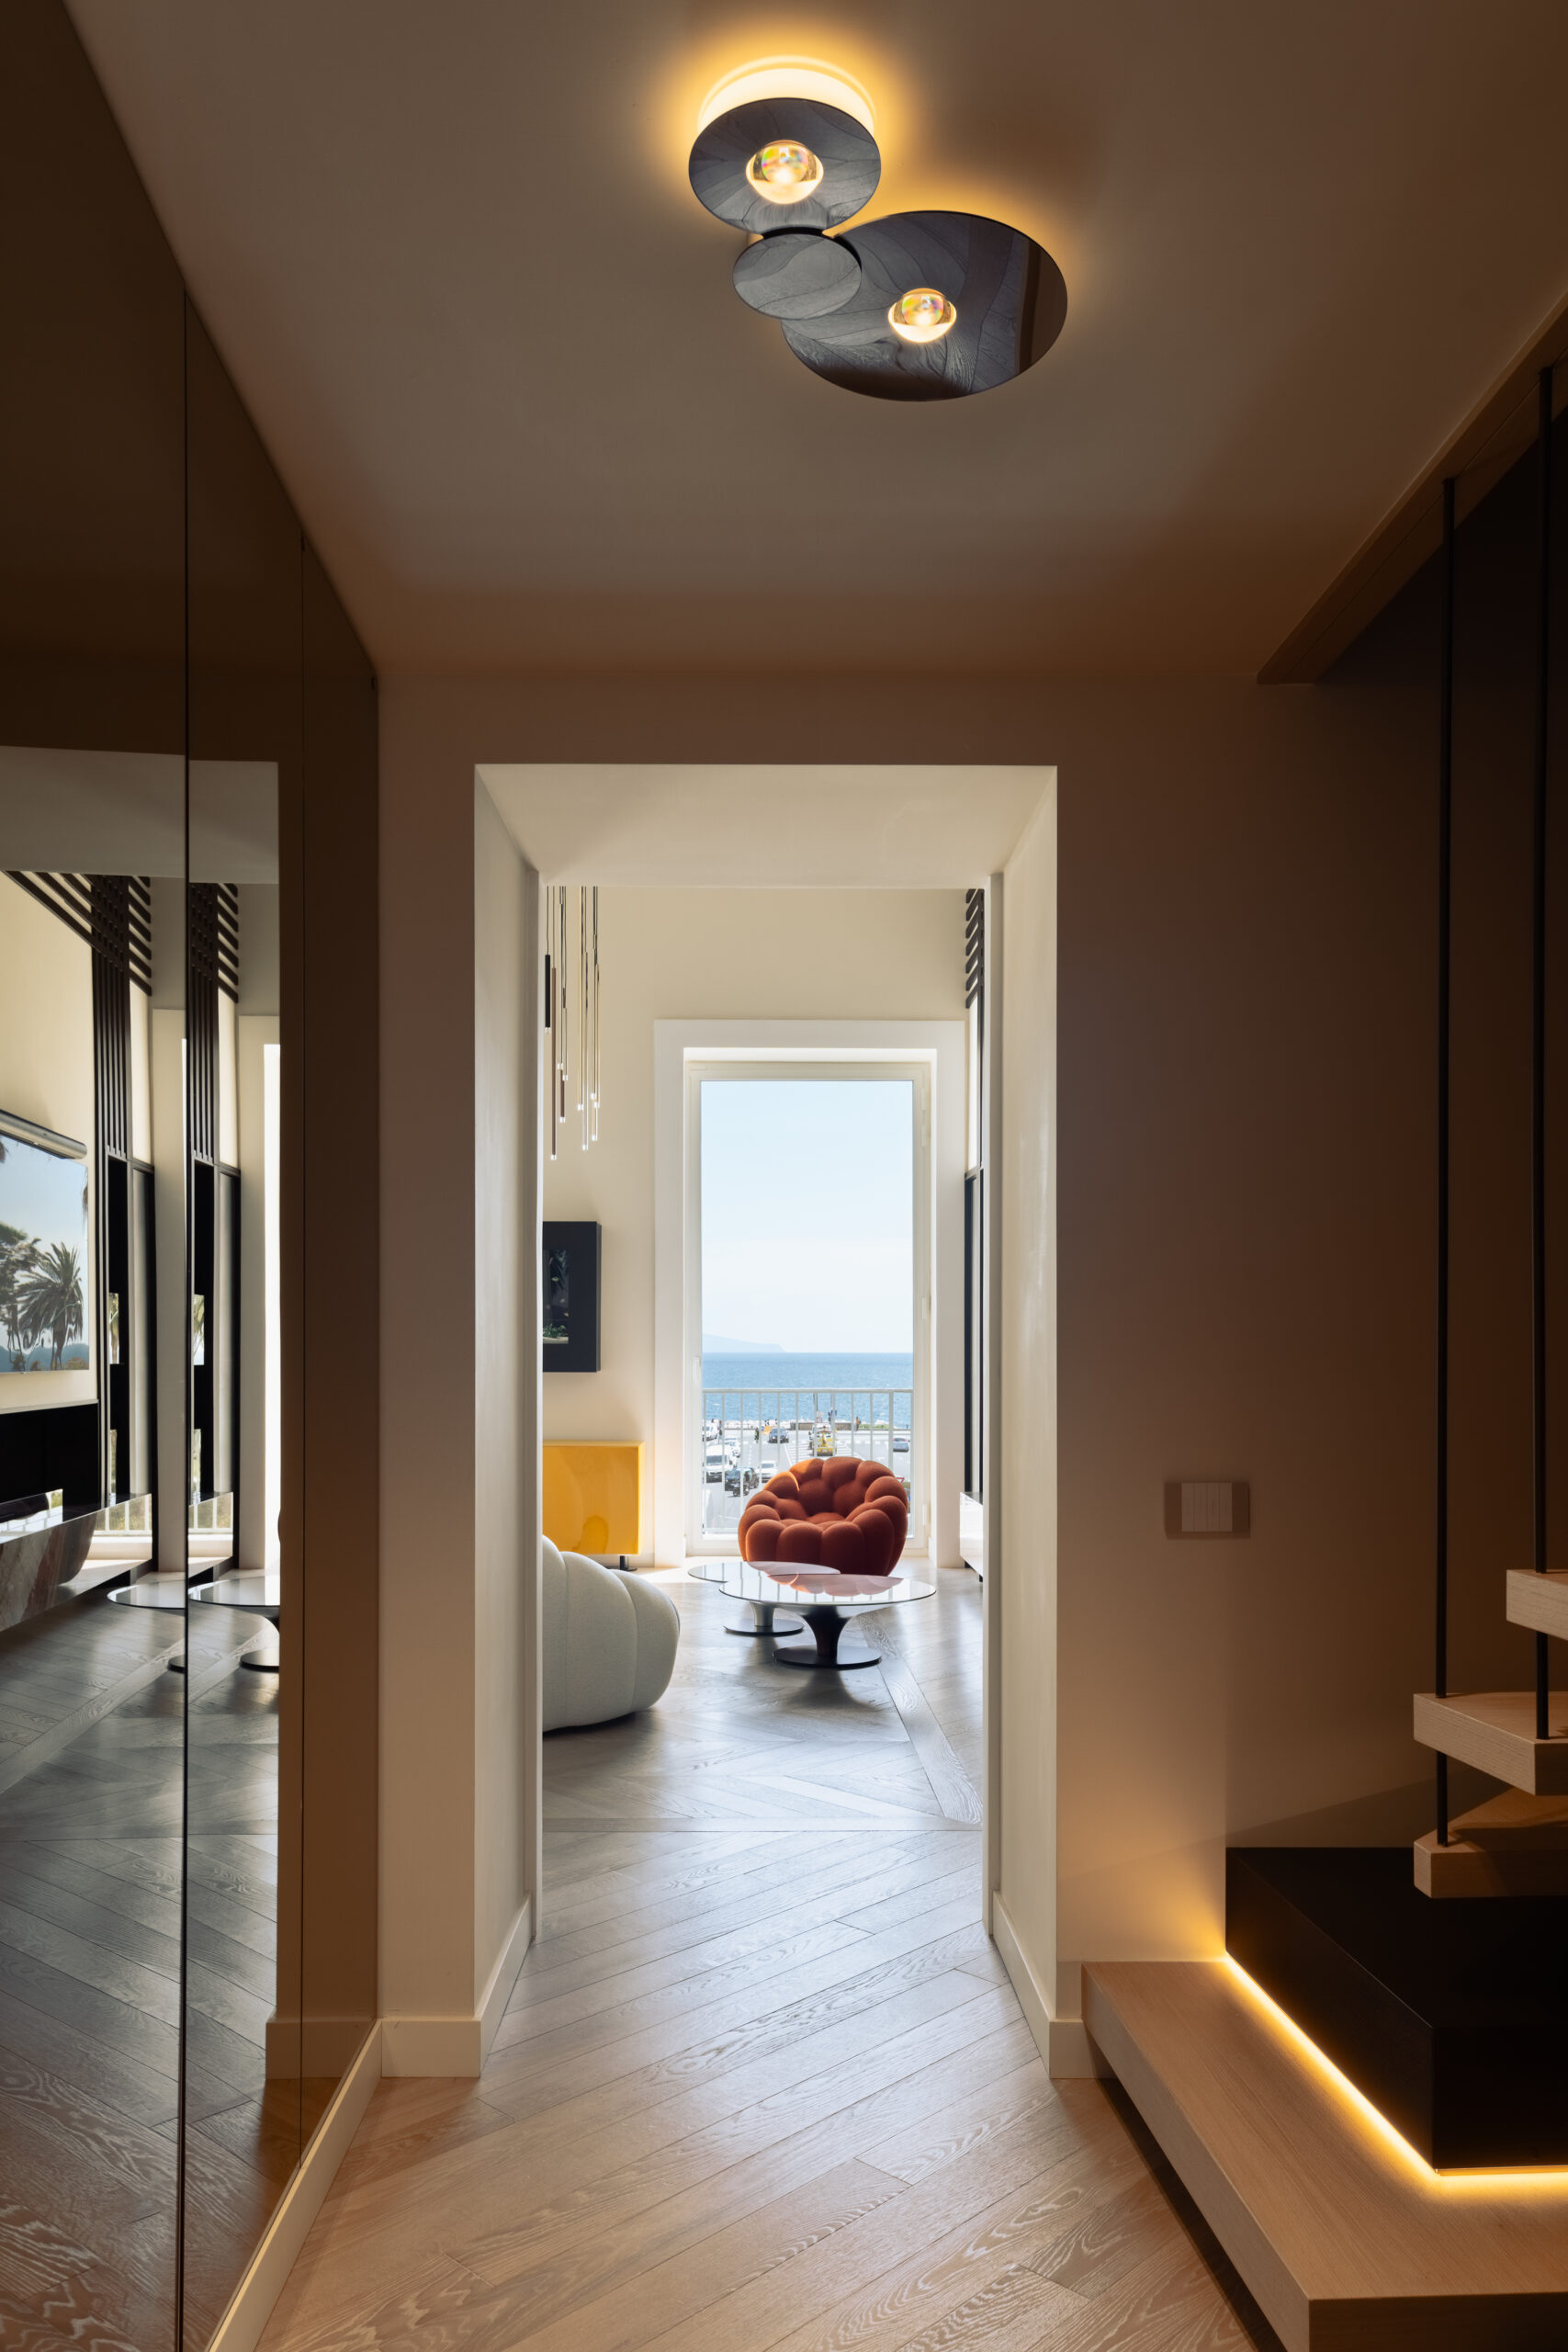
Measure wall to wall, then account for skirting boards, radiators, electrical cupboards and handles. The remaining clear width may be less than the dimension on the plan. Consider the section too. A corridor 300 cm high and 110 cm wide has a strongly vertical proportion, almost like an alley; one 270 cm high and 150 cm wide already feels closer to a small gallery.
Next, establish its role. A corridor extending from the entrance may accommodate coat storage or a seat. One serving bedrooms and bathrooms needs discretion. A link between living spaces might become a library. Our coverage of entrance corners and our room-by-room home-furnishing guide develop these related approaches.
How wide should a corridor be?
For a property in Italy, one national accessibility reference is Ministerial Decree 236 of 14 June 1989. Point 8.1.9 specifies a minimum corridor or passage width of 100 cm, with widened areas along the route, at least every ten metres, to allow a wheelchair user to turn. The decree concerns accessibility, adaptability and visitability; a qualified professional must establish its application to the particular building and work proposed. These Italian references are not universal dimensions for every country or existing home.
The decree also describes a 150 cm diameter space for a full wheelchair turn in point 8.0.2, and clear door openings of at least 80 cm at the dwelling entrance and 75 cm for other doors in point 8.1.1. Where doors open off the route, manoeuvring space and the direction of the door swing must also be checked against the relevant diagrams. A clear width alone does not establish compliance.
Regional and municipal provisions may be more demanding. Lombardy’s regional accessibility rules distinguish shared routes, for which 150 cm is specified, from adaptability requirements for private corridors with doors or right-angle turns, where 120 cm is relevant. The Milan architects’ professional guidance explains these distinctions and recommends checking the more restrictive applicable provision. Verify the current local requirements before moving a partition or reducing a passage.
Corridor width and furniture depth
For furnishing, the useful question is how much space remains after a cabinet has been installed. Around 100 cm of uninterrupted clear passage is an indicative planning target here, not a substitute for any greater accessibility requirement. Calculate furniture depth from the actual available width, allowing for handles and other projections.
| Measured available width | Possible treatment | Indicative depth limit |
|---|---|---|
| 90–100 cm | No floor-standing furniture; consider flush wall treatments and avoid obstructive projections. | No spare depth against a 100 cm target; an existing narrower passage needs individual assessment. |
| 110–120 cm | A shallow wall shelf, suspended console or slim shoe cabinet, if its fittings also fit. | 10 cm at 110 cm width; 20 cm at 120 cm width. |
| 130–140 cm | Book storage on one side for paperbacks and medium-sized volumes. | About 25–30 cm. |
| 150–160 cm | Deeper bookshelves or a shallow wardrobe with front-facing hanging rails. | About 35–45 cm on one side. |
| Over 170 cm | A standard-depth wardrobe on one side, or low bookshelves on both sides. | About 60 cm on one side; for two-sided storage, calculate the combined depth from the actual width. |
A narrow corridor and a long narrow corridor are different problems
A narrow corridor feels compressed sideways. A long narrow corridor also has a repetitive perspective. The problems often coexist but call for different responses.
In a narrow corridor, particularly below 110 cm of clear width, work with surfaces rather than added volumes. Continuous light-coloured walls and ceilings, flush doors and wall-washing light soften the boundaries. Projections, even a deep picture frame, become more noticeable and must not obstruct movement.
A long narrow corridor benefits from a sequence of episodes: a change of light every two or three metres, a niche, a small seat where the width permits, or a material transition at a doorway. Colour can alter the perceived proportions too. A ceiling slightly darker than the walls feels lower; a saturated end wall can shorten the view. The final element, whether an artwork, a light or a colour, often has more influence than the objects along the sides.
Curves and softened junctions
Where renovation allows, rounded corners or a curved wall change the movement along a corridor. The eye follows the surface instead of stopping at an edge. Our discussion of curved interior walls explores this approach; even a carefully designed plasterboard junction can soften a small circulation space.
Which colours work in a corridor?
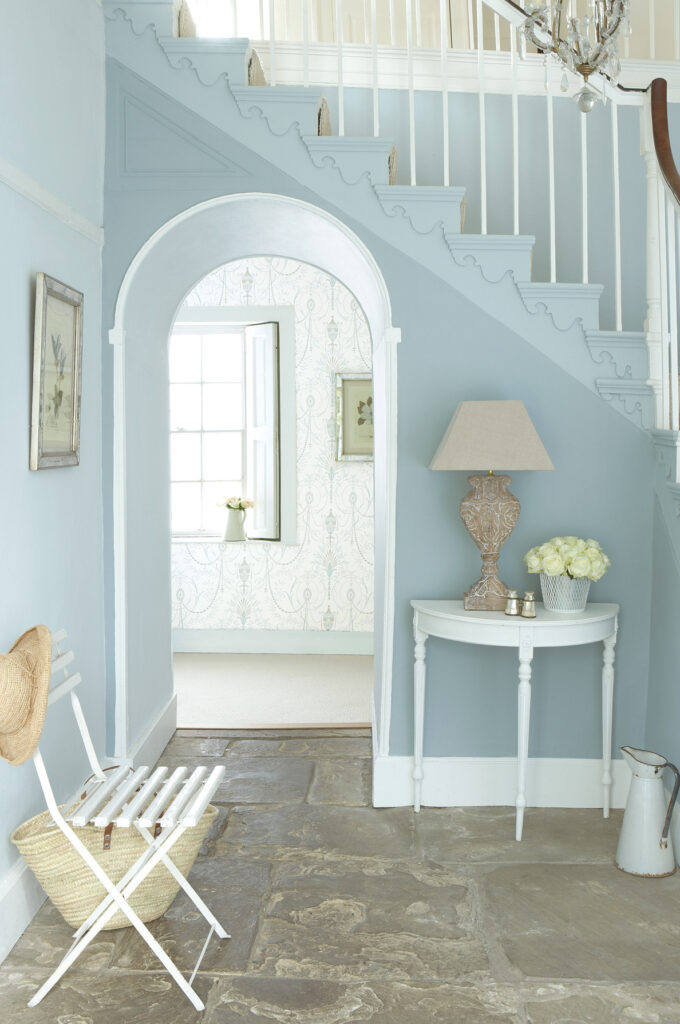
Light, warm colours are a reliable starting point for windowless corridors because they reflect much of the available light. A well-lit corridor can support a deeper, more unified colour. Lighting conditions should lead the choice rather than fashion.
Many paint manufacturers publish an LRV, or Light Reflectance Value, describing reflectance on a scale from zero to one hundred. A bright white does not create light where none exists and can appear flat without sufficient illumination. Slightly warm whites, ivory and pale neutrals are useful alternatives, tested under the actual lighting.
Ceilings, colour drenching and a darker end wall
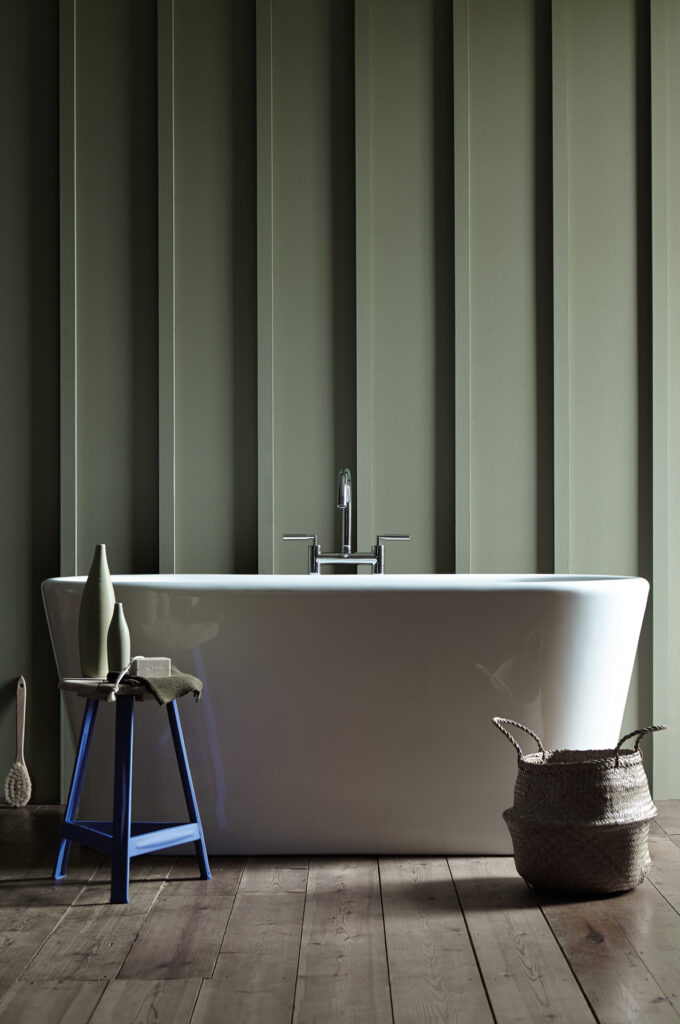
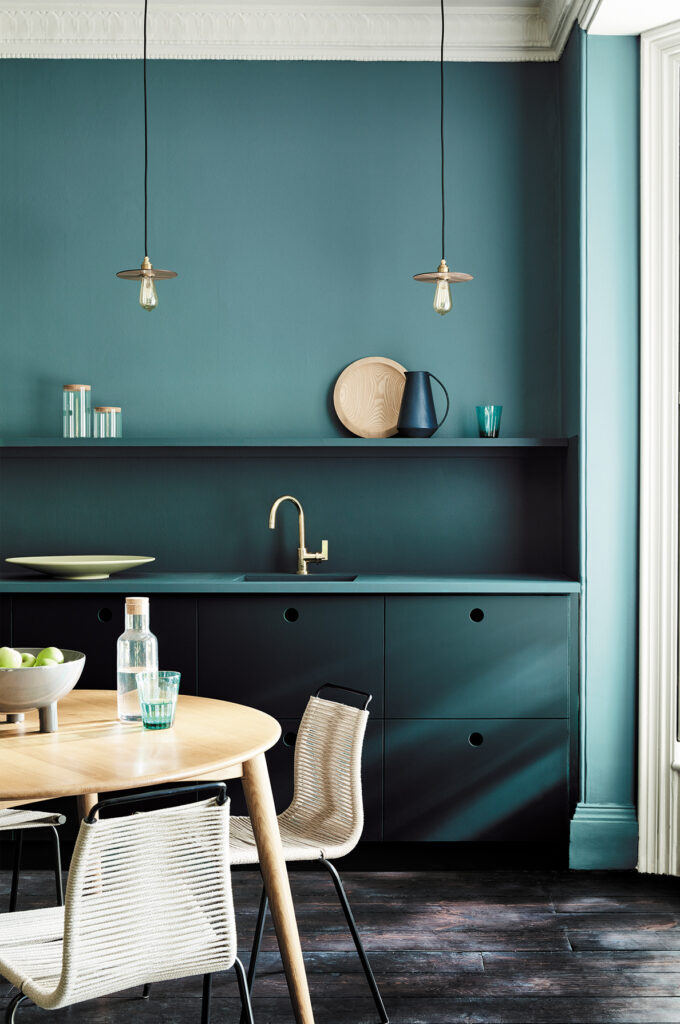
The ceiling is the frequently overlooked fifth surface. Painting it like the walls can make a corridor more continuous and enclosed; a light ceiling can emphasise height. Colour drenching extends one colour over walls, ceiling, doors, skirting and mouldings. In a corridor, it can soften the visual boundaries and create an enveloping volume. Deep green, terracotta or midnight blue give the passage the identity of a room.
A more restrained option is a saturated end wall with lighter sides. The end seems to advance, reducing the apparent length. Colour capping offers another approach: paint the ceiling and an upper band of wall in a contrasting colour. The position of that horizontal break changes the perceived height and requires careful testing.
Corridor lighting: wall lights, low-level lights and grazing light
Lighting should guide movement without glare. One central ceiling light rarely manages the whole route well. Several softer sources, often around 2700–3000 K for a warm domestic atmosphere, can maintain continuity with adjoining rooms.
Workplace lighting references under EN 12464-1 commonly use 100 lux at floor level for circulation routes. This is a comparison, not a universal domestic requirement or a claim that every home corridor needs exactly that value. Residential lighting should account for its users, visibility, glare and activities. Italy also has a dedicated domestic-lighting technical specification, UNI/TS 11826:2021.
Choosing the light sources
Wall lights are the classic option. Regular spacing establishes a rhythm along the route. In narrow corridors, choose shallow fittings and assess how their distribution illuminates the wall. Recessed low-level lights a little above the floor can provide a night route, paired with an appropriately positioned presence sensor and light level.
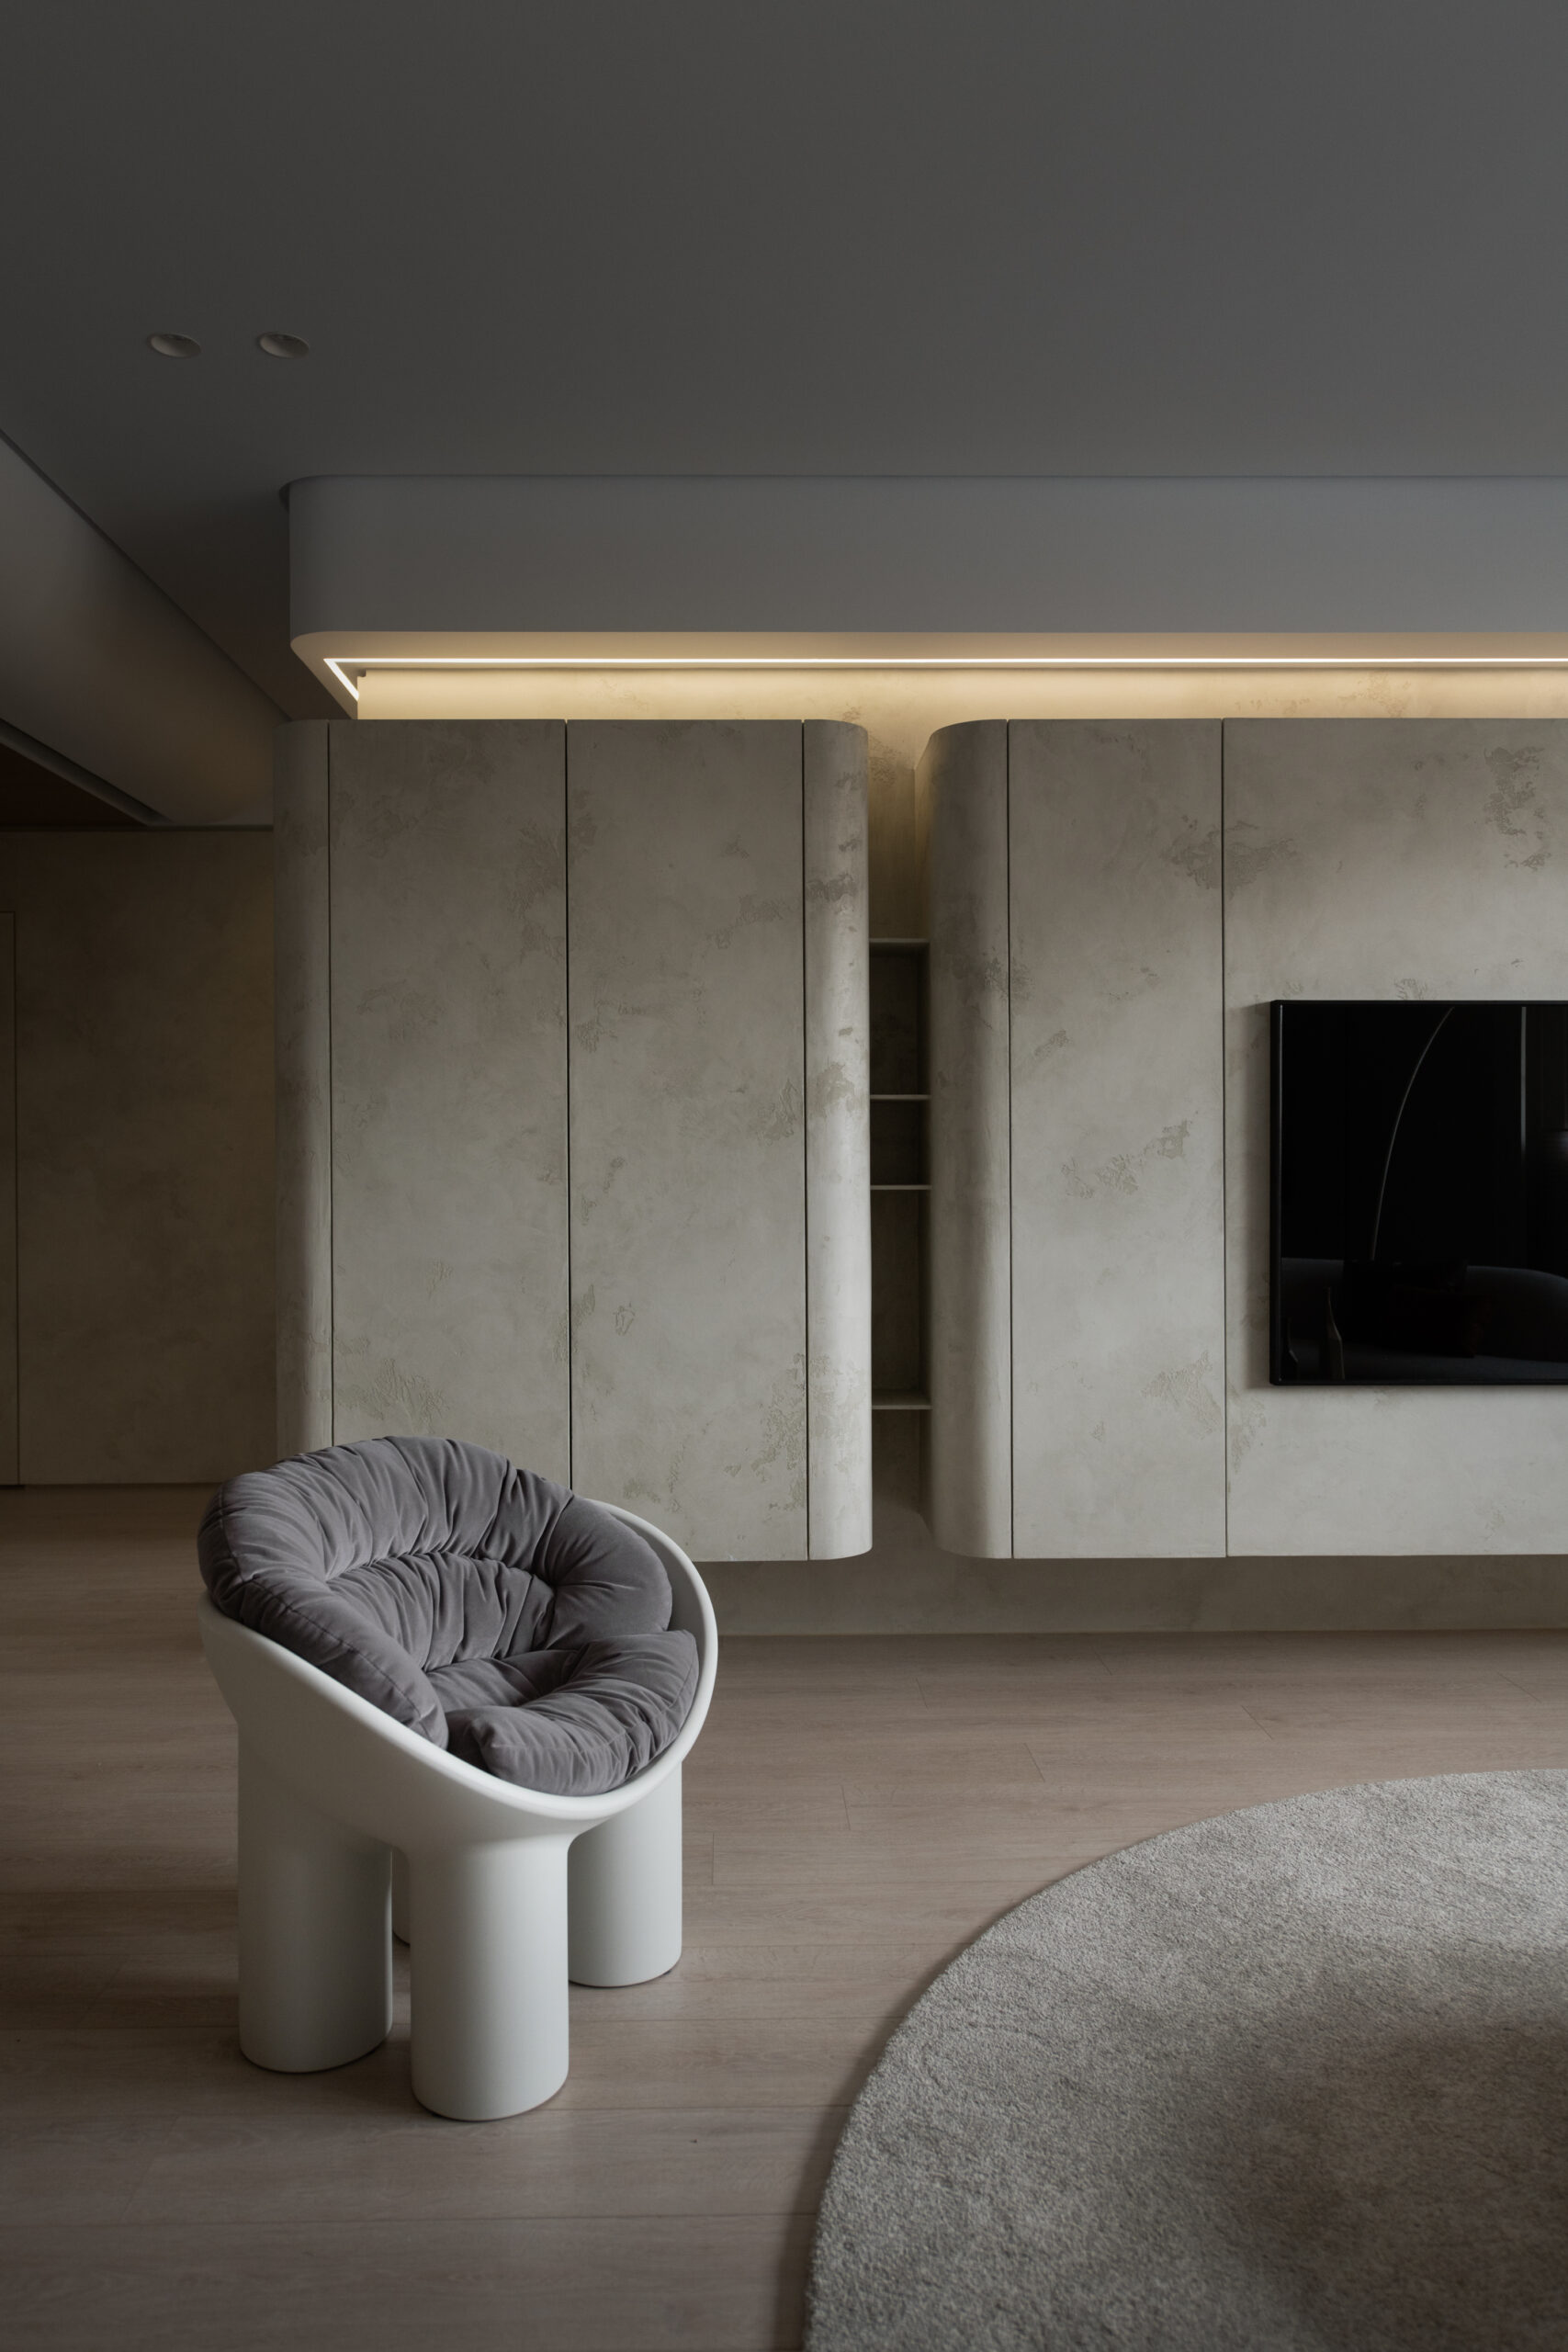
Grazing light travels almost parallel to a surface and emphasises texture. An LED strip concealed in a ceiling recess or beneath panelling can reveal lime-plaster grain or timber relief. It also exposes imperfections in the underlying finish. Our living-room lighting guide explains the broader principles of layers, colour temperature and control.
Wall panelling, finishes and flush doors
Vertical surfaces often do more than furniture in a corridor. Panelling, textured plaster and small-pattern wallpaper add depth while using relatively little space. Their finished build-up must still be included when measuring the clear route.
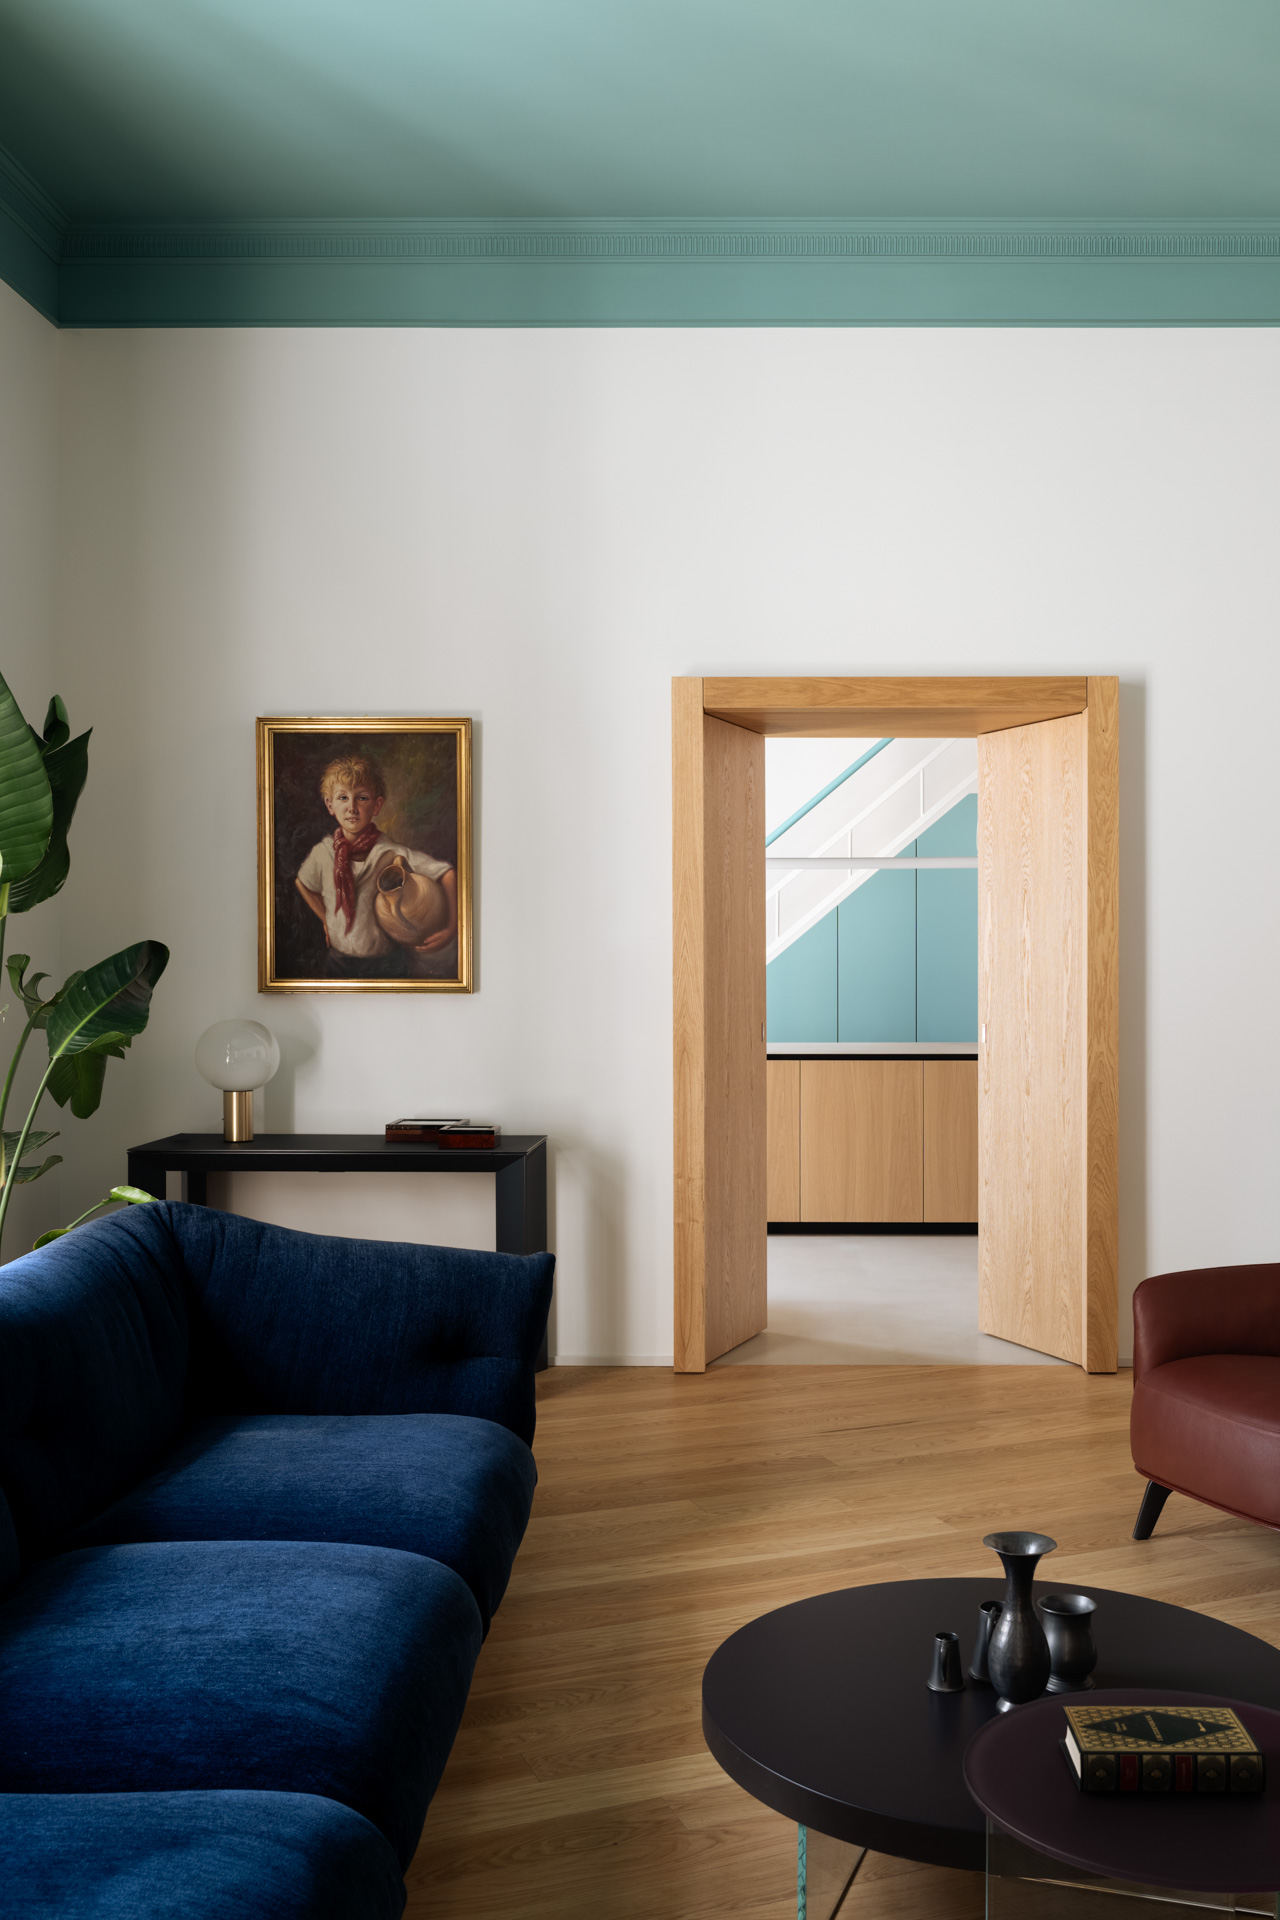
Panelling has a useful practical role: protecting the lower wall from bags, suitcases and vacuum cleaners. Contemporary vertical slats, smooth panels or fine mouldings can rise halfway up the wall or reach the ceiling, sometimes integrating flush storage. Our coverage of modern wall panelling examines proportions and finishes. Vertical lines can emphasise a low corridor’s height; a continuous mid-height line can make a tall space feel calmer and longer.
Flush doors
Doors are often the source of visual fragmentation: five or six openings, projecting frames and unrelated finishes. A flush door conceals its frame within the wall and can be painted to match. Where suitable, a pocket sliding door frees the area otherwise used by the door swing. Both solutions need planning during the building work, with the appropriate frames and construction details.
Bookshelves, cupboards, mirrors and art
Choose furniture specifically suited to the route: shallow bookshelves, cupboards, mirrors and artworks. Keep the clear passage and manoeuvring requirements in mind. A bedroom chest of drawers moved into a corridor is rarely a sound starting point.
Bookshelves are a natural fit. A paperback may be around 12 cm deep, while a large art book can exceed 30 cm. Custom shelves around 25 cm deep hold many ordinary books while keeping the wall visually open. Our selection of iconic bookcase designs offers related ideas, from wall-hung shelves to modular systems.
Shallow cupboards around 35–45 cm deep can provide storage where a walk-in wardrobe is impossible. Pull-out front-facing rails accommodate coats, while shelves serve household linen. Flush doors in the wall colour reduce visual interruption and turn part of the corridor into discreet storage.
Mirrors, runners and a domestic gallery
A mirror on the long wall can widen the perceived space; one at the end doubles the perspective and may make a long route feel longer. Position it according to the effect intended. A runner softens footsteps and reinforces direction. Leave a visible floor margin on both sides and choose a secure non-slip backing without raised edges.
A corridor can also become a domestic gallery. Ordered sequences work well: frames aligned to one horizontal line, equal-format prints or black-and-white photographs. The Vasari Corridor held the Uffizi self-portrait collection from the 1970s until 2016. The Uffizi Galleries’ history of the Vasari Corridor shows how a route can become a destination. At home, adjustable spotlights or suitable wall lights can illuminate the artworks without dazzling people as they pass.
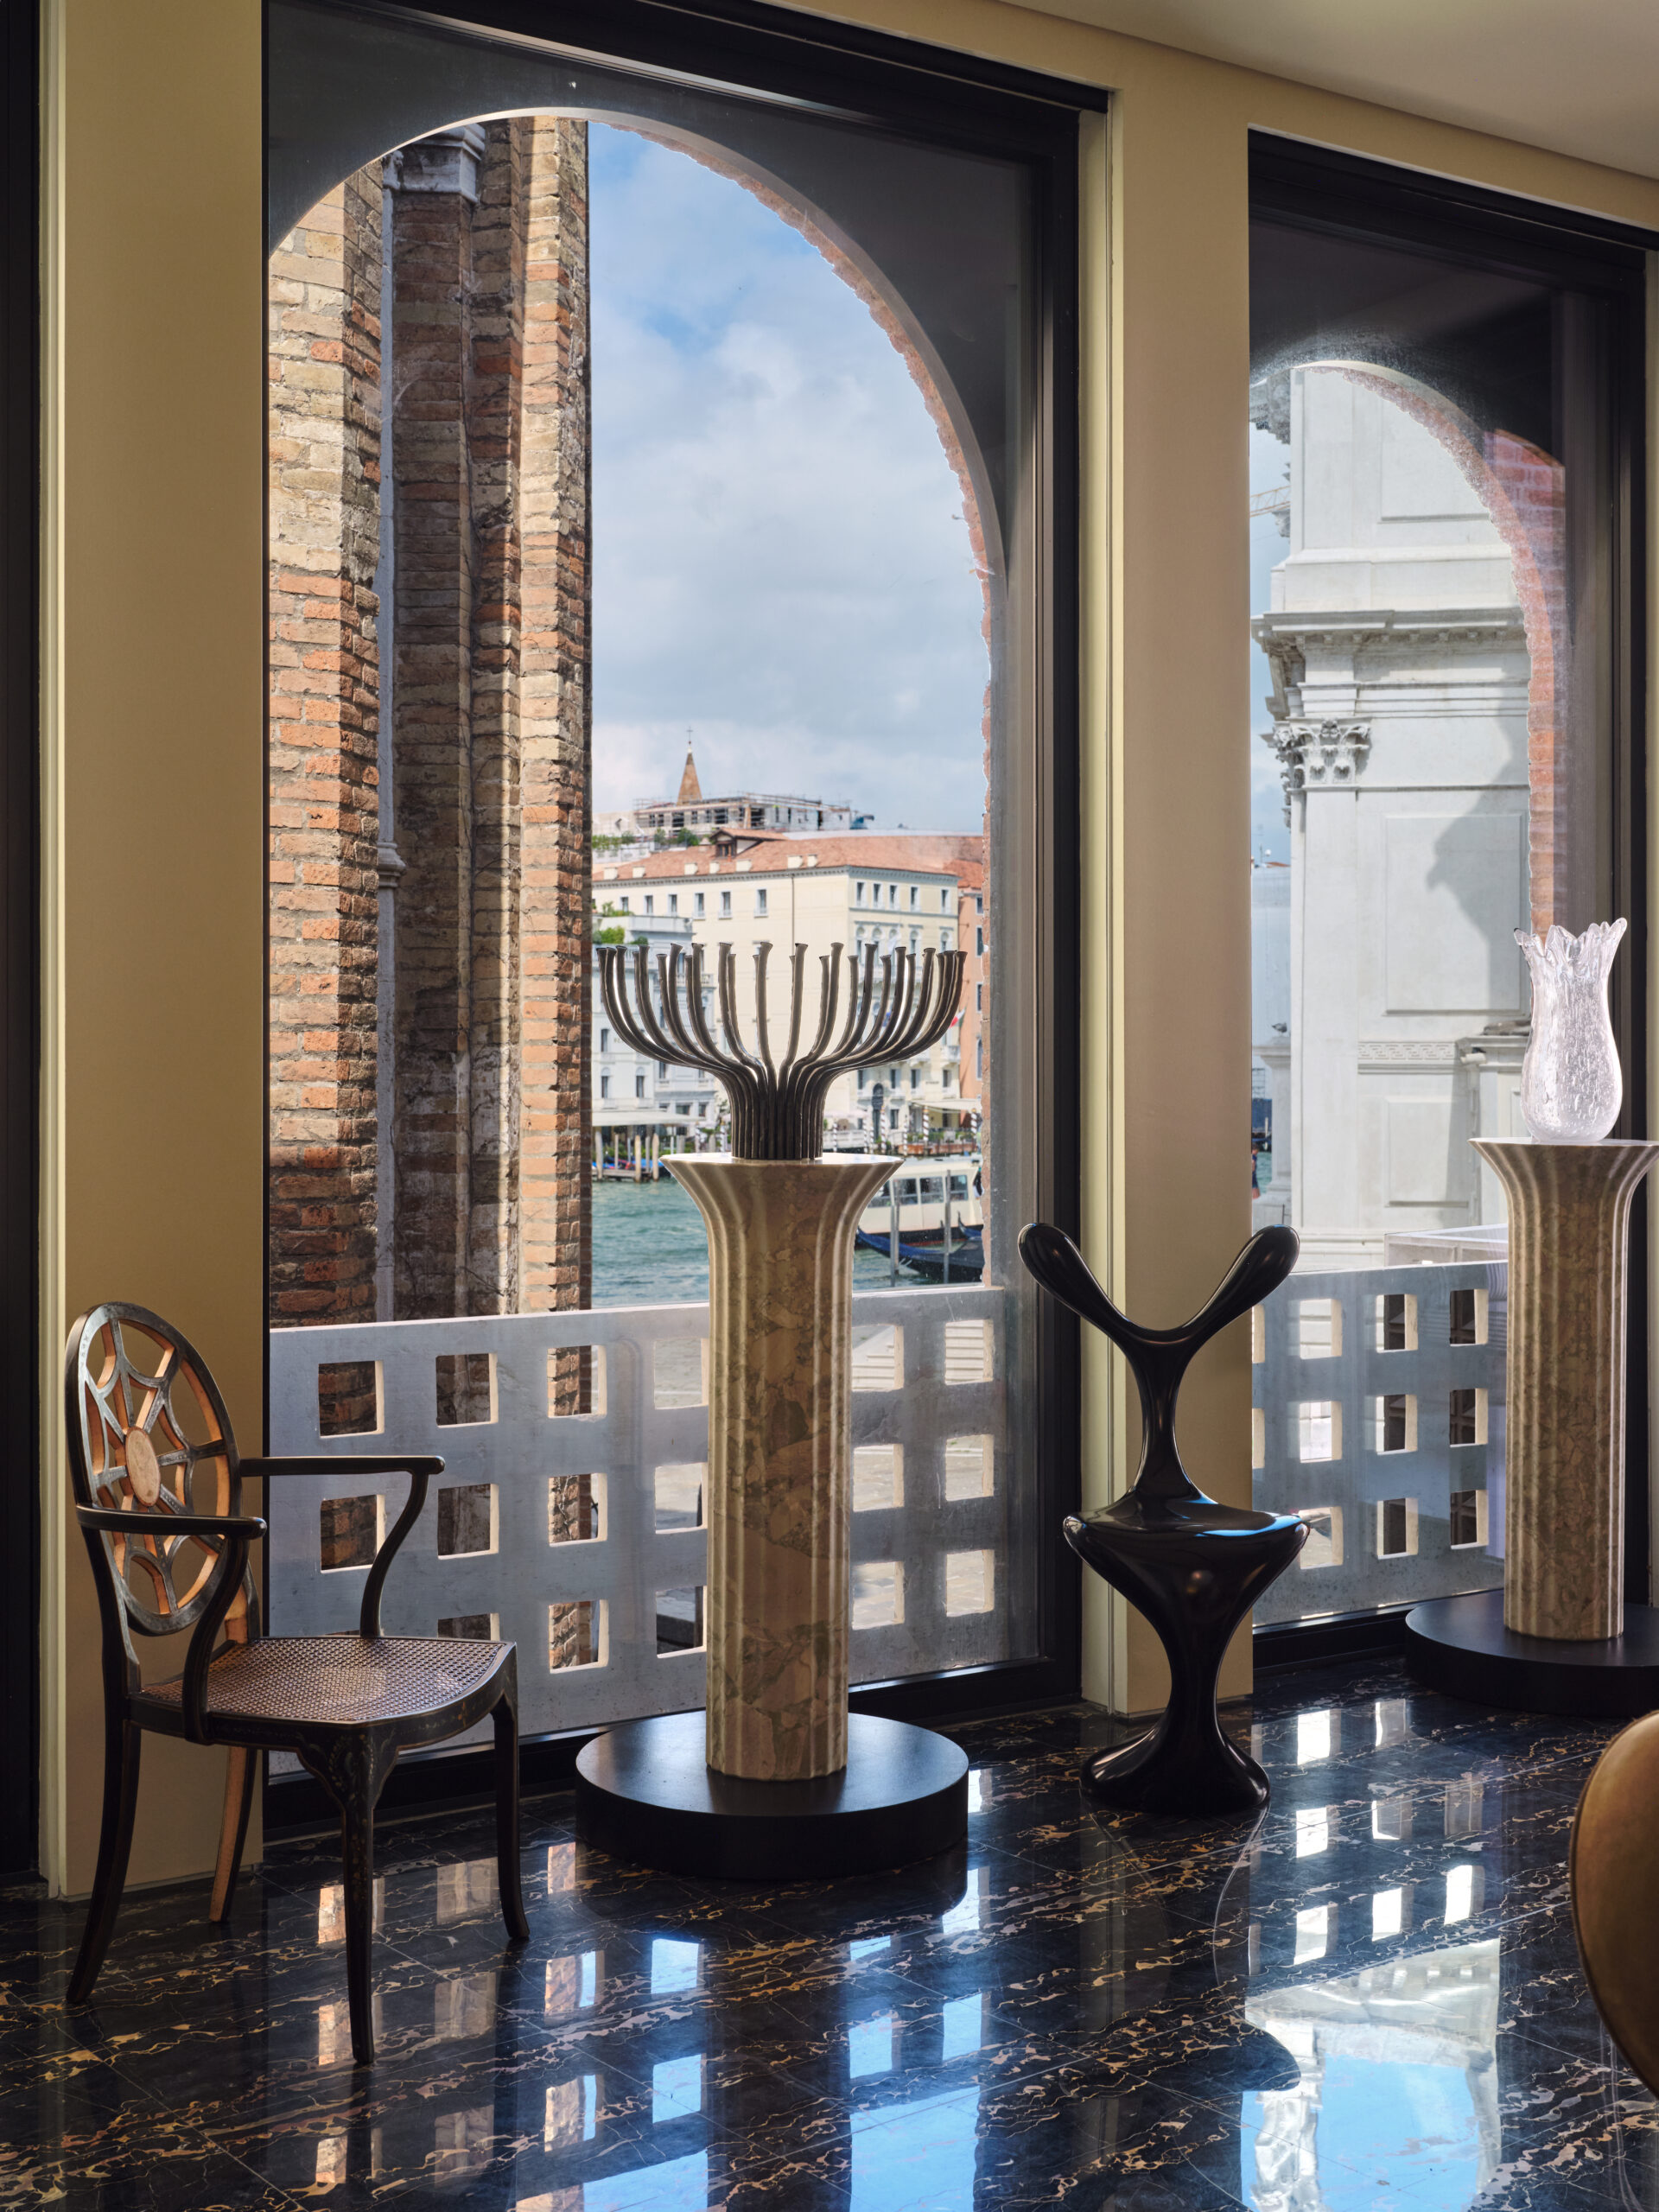
Transfer the compositional principle rather than the furniture footprint to a corridor: carefully spaced and lit artworks can give the route rhythm. Floor-standing plinths would obstruct a narrow passage, so keep the floor clear and work with the walls instead.
Mistakes to avoid in a modern corridor
The most common mistake is treating it as a store for surplus furniture, boxes or drying racks. Every object reduces usable width and makes the space feel temporary. A considered corridor begins with a clear, orderly route.
Lighting mismatch is another problem. A cool ceiling fitting above 4000 K can feel abrupt when it links rooms lit with warm light. Visual inconsistency is similarly distracting: several frame styles, a patterned runner and striking wallpaper all competing within one short stretch. A corridor is seen in perspective, so coherence matters.
Scale is often overlooked. Tiny objects can become lost along a long wall, while too many create a noticeboard effect. Fewer substantial elements, spaced with care, are more likely to create the calm of a gallery.
Frequently asked questions about furnishing a corridor
What is the minimum corridor width in a home?
For properties within its scope in Italy, Ministerial Decree 236/1989 specifies 100 cm for corridors and routes, with appropriate wheelchair-turning areas. Regional requirements can differ; Lombardy has a 120 cm adaptability provision for private corridors with doors or right-angle turns. A professional must check the requirements for the particular project and location. These figures are not an international building-code rule.
How deep can furniture be in a narrow corridor?
Subtract the clear passage you need from the measured available width, including projections. With an indicative 100 cm passage target, a 120 cm corridor leaves 20 cm for furniture and a 110 cm corridor only 10 cm. Where a greater clear width is required, the allowance reduces accordingly. At or below the target width, do not add obstructive furniture.
What colour works in a dark corridor?
Warm whites, ivory and light neutrals with higher reflectance can make good use of distributed artificial light. A deep colour across all surfaces is another deliberate choice: it need not make the passage seem larger, but can create depth and character. Both approaches depend on a properly considered lighting scheme.
How can a long narrow corridor appear shorter?
Emphasise the end wall with a saturated colour, a substantial artwork or a light that draws the eye. Changes of lighting, material, a niche or a seat where space permits can divide the route into episodes. A slightly darker ceiling can reduce the impression of excessive height.
Which lighting is suitable for a corridor?
Several carefully positioned sources are usually more adaptable than one ceiling fitting. Shallow wall lights, recessed low-level lighting and concealed LED strips can work together. Around 2700–3000 K often maintains a warm connection with adjoining rooms. The workplace reference of 100 lux at floor level is not a mandatory residential target; assess domestic needs, glare and controls separately.